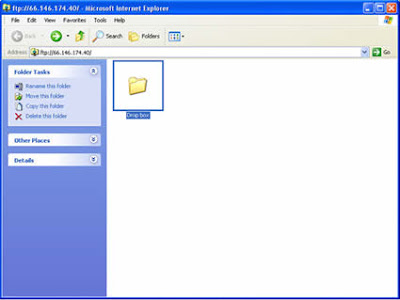
When you download Dropbox, the icon to open it up will appear in the bottom right hand corner of your screen. It looks like this.
You'll double click on the icon to open up your Dropbox folder.

Once you have your Dropbox window open, you can add folders by clicking on Make a new folder. Then, you can start adding your files to the Dropbox just by dragging them. You can also save a file to the Dropbox by choosing the Save As Option. Your Dropbox will be in your My Documents folder.
 Now that you've added some files to your Dropbox folder, let's talk about how to access those files from another computer or device. The first step is to download Dropbox on the other computers that you use. You've already done this once so this step should be simple. Second, you'll want to bring up your personal Dropbox cloud storage. I know this sounds complicated, but it's not! All you need to do is double click on the Dropbox icon, select File, Dropbox, Browse on Dropbox website. This will take you to a webpage where all of your documents are stored. You can log in to this webpage from any computer, anywhere to retrieve your documents, BUT, you have to be connected to the internet to get to this webpage. You can organize your files here the same way that you would organize them on your desktop, and any changes you make will be reflected on all of your machines.
 The next step (and the best one if you ask me) is sharing your files with your coworkers, friends, and family. I'm going to walk you through it, and you'll be storing your stuff in the cloud in no time. To share files with others, go through the same steps I just mentioned to get to your Dropbox webpage, which will look something like this:
I bet you can figure out what happens next. Go ahead and click on that happy rainbow that says Sharing next to it. That will bring you to the sharing screen, which features all of your files organized into the folders we placed them in earlier. Click on Options, and you'll be brought to another screen that will allow you to enter the email addresses of the folks you want to share your files with. They'll have to have Dropbox too in order to access your stuff, but now that you're an expert you can help them get started. It's that easy.
Stay tuned for how to use Dropbox to write better grants, as well as other exciting (and free!) programs for nonprofits.

No comments:
Post a Comment